Mastering MTB Suspension: A Comprehensive Guide to Perfecting Your Ride
Hey there, fellow trail blazers and dirt enthusiasts! It's me this time diving deep into the nitty-gritty of what makes our rides smooth over the roughest terrains—suspension settings.
Today, I'm beyond thrilled to introduce a very special guest who'll be sharing his suspension-setting wisdom with us. Meet Gustavo Alvaro, a bona fide suspension wizard from the world of Kawasaki motorcycles. Gustavo isn't just any expert; he's a published author on the subject and a dear friend from my motorcycle days. We've shared countless adventures, and his insights have transformed the way I think about bike suspension. So, buckle up as Gustavo takes us through the ins and outs of getting your MTB suspension dialed in just right.
Bridging Bikes and Motorcycles through Suspension Setting
Whenever I hop on a new bike—or motorcycle, for that matter—the first thing on my checklist is fine-tuning the suspension to align with my weight and the ride ahead. Bike manufacturers pour immense resources into crafting systems that make these adjustments as straightforward as a walk in the park. Yet, it's not uncommon to hear riders voice frustrations over their suspension components, often not tapping into their full potential.
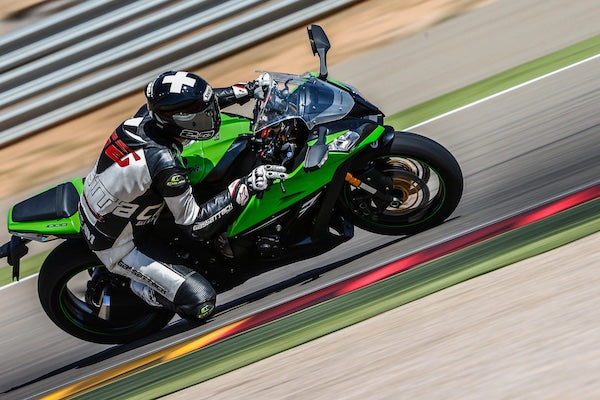
The suspension setup requires a thoughtful consideration of the rider's weight in relation to the vehicle's weight. To put it into perspective, an average motorcycle tips the scales at about 200kg, with the rider weighing in around 80kg—making the motorcycle's weight substantially double that of the rider's.
Transitioning to bicycles, the equation changes significantly. With the same rider, an e-bike's weight is roughly a quarter, and a traditional bike even less, making the rider's movements profoundly influential on the bike's dynamics. This dynamic interplay underscores the importance of a tailored suspension setup, enhancing control and responsiveness through strategic movements and positioning.
In the following sections, I'll unravel the steps to precision-tune your suspension for any ride, ensuring you harness the full synergy between rider and machine.
Suspension Setting Step 1: The Sag
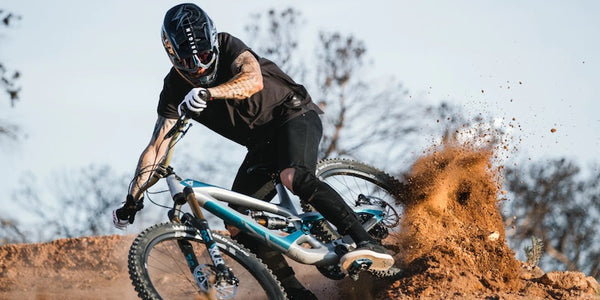
Tweaking your MTB suspension is a game-changer, and it all starts with getting your sag dialed in just right. Picture this: you, atop your bike, in full attack mode, ready to tackle whatever the trail throws your way. The sag is basically how much your bike squishes under you, and getting this set up correctly is crucial because it directly affects how your bike handles bumps and keeps traction on the trail.
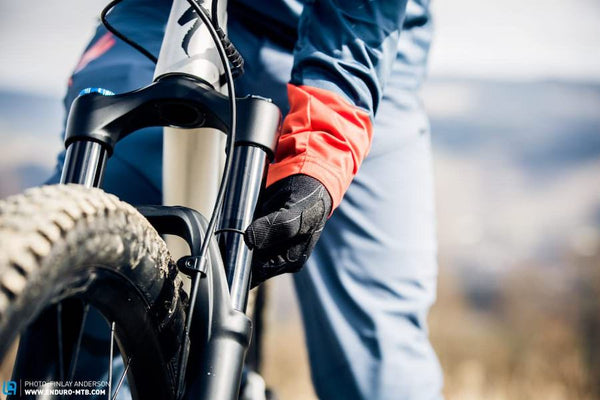
Adjusting the sag means tweaking the air pressure in your front fork and rear shock to suit your weight. Yep, those tiny stickers and the manual? They're your best friends here (although, if you're like me and your eyesight isn't what it used to be, you might need to dig out your reading glasses). But, and here's where it gets interesting, those are just starting points. The real magic happens when you start fine-tuning to match how you ride.
Here's where a bit of storytelling comes in. I remember this epic ride in the Pyrinees, my buddy and I decided to really push it on a trail more suited for Enduro, but our bikes were set up more for X-Country. A quick sag adjustment transformed our rides, making the descent smoother and way more controlled. It was like unlocking a whole new level of performance from our bikes.
And that's the thing - sag isn't just about weight. It's about how you intend to ride. Feel like shredding some gnarly Enduro trails? Crank up that sag. Planning a long, scenic ride over rolling hills? Dial it back for efficiency. Your bike, your rules.
Now, for the numbers that will save you from endless Google searches:
|
Bike type |
Front% |
Rear% |
|
X-Country |
10-15% |
15-20% |
|
Enduro |
20-25% |
25-30% |
|
Downhill |
25-28% |
25-35% |
These percentages? They're your golden tickets to setting up your bike's suspension travel to match your riding style.
Take, for example, a bike with 160mm of travel front and back, geared for a bit of light Enduro. You'll want to aim for the higher end of those sag percentages to tackle rough trails without breaking a sweat. Here's how it breaks down: 25% of 160mm up front gives you 40mm of sag, and 30% at the back gives you 48mm. Measure without your weight, then hop on in your riding position, adjust the air pressure, and voilà – your bike is now a trail-eating monster.
Oh, and don't forget about our sag master calculator. It's technically for motorcycles, but between you and me, it works wonders for mountain bikes too. It's the secret sauce to getting your setup just right.
Suspension Setting Step 2: Rebound Damping
Alright, let's dive into the world of rebound damping, an often overlooked but crucial part of fine-tuning your MTB's suspension. After getting your sag settings dialed in, it's time to tackle the rebound. If sag is about how your bike hugs the ground, think of rebound damping as how gracefully it lets go.
The concept of damping might seem a bit like rocket science at first, but let me break it down for you in a way that's as simple as squeezing a water bottle. Imagine taking a medical syringe filled with water, then pushing the plunger as hard as you can, watching how quickly the water squirts out. Now, switch it up, fill it with thick cooking oil, and try the same thing. Notice the difference? That resistance you feel with the oil is similar to what happens inside your suspension—it's all about controlling the flow to manage how fast your bike responds after hitting a bump.
Now that you've got the gist of damping force, let's talk about why it's a game-changer for your ride. Without proper rebound damping, your bike would be bouncing around after every root and rock, making it tough to keep your tires glued to the trail where they belong. Ever felt your bike getting a bit too lively after a jump? That's your cue to tweak the rebound.
The trick is finding that sweet spot where your wheels snap back to the trail quickly, but not so fast that your ride starts feeling like a rodeo. You want your wheels to kiss the ground, not slap it. Here's a pro tip: get on your bike, compress those suspensions (yes, give it a good, solid push), and watch how it rebounds. You're aiming for a single, smooth return to position. If your bike acts like it's on a pogo stick, time to slow down the rebound. Too sluggish? Speed it up a notch.
Using your smartphone's slow-mo video feature can be a real eye-opener here. It's one thing to feel the rebound, but seeing it? That's where you catch the nuances. If the suspension pops back without a bounce, your setting's too slow. More than one bounce? Too fast. Adjust accordingly, and you're well on your way to suspension nirvana.
Fine-tuning your rebound damping isn't just about making your ride smoother; it's about making your bike an extension of you. When you nail that rebound setting, every trail feels more connected, every turn more precise, and let's be honest, every ride more fun.
So there you have it, the lowdown on rebound damping. With your sag set and your rebound dialed in, you're not just riding your bike—you're commanding it. Next up, we'll tackle compression damping and why it's the secret sauce to a ride that feels just right. Stay tuned, and remember, the perfect setup is a ride away.
Suspension Setting Step 3: Compression Damping
Diving into compression damping, this step fine-tunes how your bike absorbs bumps, marrying your riding style with the terrain ahead. Unlike the more straightforward rebound damping, compression is all about the feel—how your bike responds under pressure, whether you're pedaling up a steep incline or navigating a rocky descent.
For a responsive, efficient ride, especially when climbing, many of us tweak our compression settings towards the firmer side. This minimizes the energy lost in pedal bob. Gadgets like the pro-pedal on rear shocks are a godsend here, allowing a switch between a firmer setup for climbs and a more forgiving one for descents.
Adjusting compression is about balancing responsiveness with comfort. Turn the adjuster anti-clockwise for a plusher feel on rough trails or clockwise for a firmer response, perfect for smooth trails or climbs.
Remember, it's sag first, then damping adjustments. Keeping a record of your settings can be incredibly helpful for future rides. Tailor your bike's compression to suit your ride, and feel the difference it makes on the trail.
Suspension Setting Step 4: Suspension Fluids
Diving into the final piece of our suspension puzzle: suspension fluids. That water versus cooking oil comparison? It's all about viscosity and its crucial role in your suspension's performance.
Here's the deal: sticking to the manufacturer's recommended oil viscosity is your best bet for keeping things smooth. If you're not getting the feel you want, though, a chat with a suspension specialist could be in order. They can fine-tune your setup to perfection, avoiding the pitfalls of going too thick and risking hydraulic lock, or too thin and losing effective damping.
If you're ever in a bind or just curious, there's a comprehensive Suspension oil weight chart. It lists oils by viscosity, helping you find the perfect match if the OEM option isn't available. And yes, while these oils are often branded for motorcycles, they're compatible with MTB suspensions too—just focus on matching viscosity to keep your ride dialed in.
What's Next: Advancing Your Suspension Tuning Skills
Wrapping up our journey through the ins and outs of suspension tuning, you might be wondering, "What's next?" We've covered the essentials to get your bike feeling just right, but the world of suspension tuning is vast and full of secrets waiting to be unlocked.
Feeling like you're ready to take it to the next level? For those who've got the basics down but are itching for more, there's something special waiting. Dive deeper into the art and science of perfecting your ride with our comprehensive guide, available on Amazon: "Suspension and Geometry Adjustment" It's your next step towards suspension mastery.
And about that little secret we've been keeping? Let's just say, inside the pages of this guide, lies the key to unlocking the full potential of your bike. Ready to transform your rides? Check it out here. Here's to smoother trails and sharper turns ahead! 🚵♂️
| Setting Step | Key Points | Tips |
|---|---|---|
| Sag | 10-15% for X-Country, etc. | Start with manufacturer's specs |
| Rebound | Balance is crucial | Use slow-mo video for adjustment |
| Compression | Personal feel | Start firm for climbing, adjust for descents |
| Fluids | Stick to recommended viscosity | Consult a specialist for changes |

